
Working with the Taskbar Corner Overflow and System Tray
Author’s note: This lesson has been updated and re-recorded for Windows 11 version 22H2 (May 2023).
Lesson 3
Resources
ZIP file of all resources for lesson 3 (alternatively, download individual files below)
Back to Windows 11 Training Page
Objectives
By the end of this lesson you will understand, be able to discuss, and/or perform the following tasks as they relate to making changes to the default settings in Windows 11:
- Activate the “Show Hidden Icons” button in the System Tray and navigate through the icons therein.
- Permanently unhide some of your most used System Tray icons so they always appear visually in the Taskbar overflow area.
NOTE: Please check with your IT administrator if you work in a secure environment before making any changes to your PC.
Show Hidden Icons, Opening the Show Hidden Icons Button
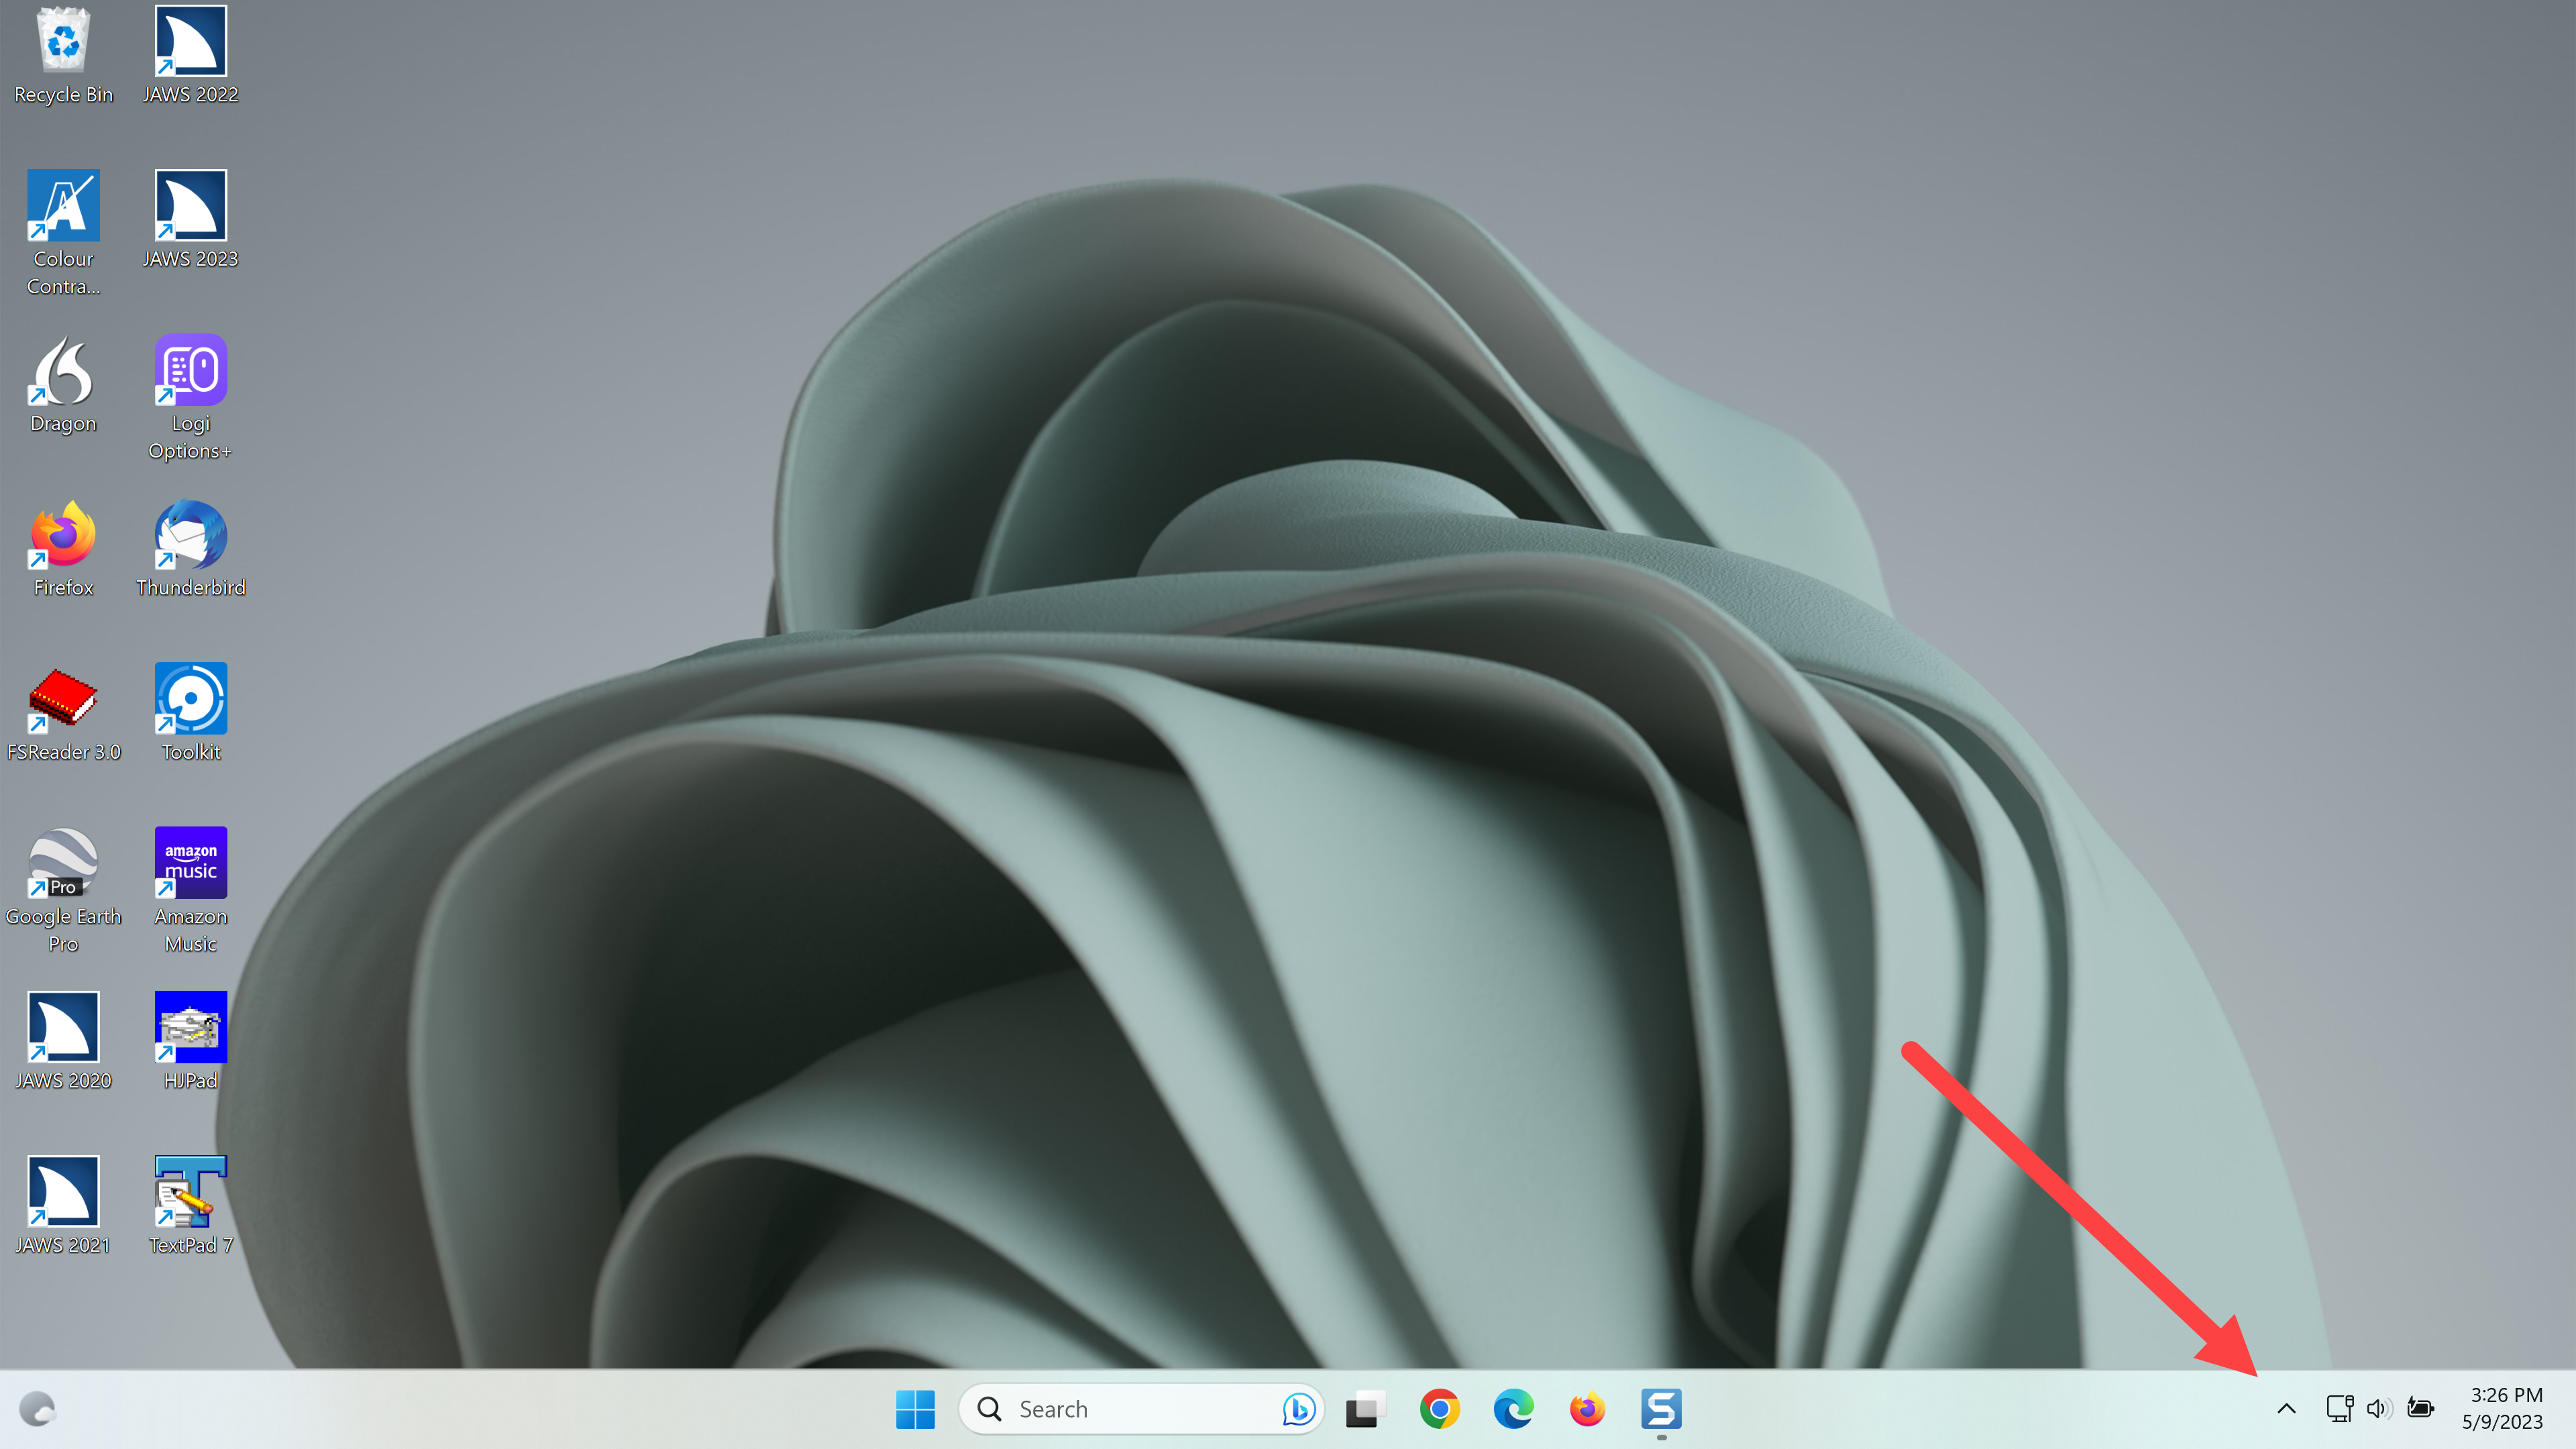
The System Tray has been condensed to a “Show Hidden Icons” button along with an icon for Internet access and Quick Settings. These may not be changed by the end user. There may also minimally be one or two other icons there on a permanent basis, depending on running apps and your Windows configuration. For example, on my computer there is a battery status icon since I am using a laptop.
The Taskbar Corner Overflow Area
Occasionally, other icons may appear in the taskbar corner overflow area briefly, such as the microphone icon that appears when you participate in Zoom conferences or when you are running JAWS with Voice Assistant enabled. When these other icons appear, the taskbar corner expands in an “overflow” to show the new icon or icons and collapses slightly again when those icons or apps are no longer in use.
However, some of the icons for apps you may use daily and often could be hidden within the Show Hidden Icons area when the app is running. You can pin the icons for some of the apps you want to the taskbar corner overflow permanently, so they never disappear. This process is covered in the next section in this lesson.
NOTE: You may also pin app icons to the center part of the Taskbar to give you a quicker way to launch your favorite apps. The taskbar corner overflow area, however, gives you access to apps that are designed to have a presence in the System Tray after they are already launched and running.
For now, open the Show Hidden Icons button and explore the icons hidden there on your computer. Show Hidden Icons is the first item in the System Tray.
- First, move to the Show Hidden Icons button by pressing WINDOWS key+B, and then press SPACEBAR.
- Use the ARROW keys to explore the different icons here for your PC.
- To open a menu of available choices for each icon press the APPLICATION key or use a right mouse click.
- When you are finished exploring the Show Hidden Icons pop up, press ESC to close it.
Use Windows Settings to Add Icons for Apps on Your Computer to the Taskbar Corner Overflow Area
The “Always show all icons in the notification area” choice that was available in prior Windows versions is no longer available in Windows 11.
You may choose to show visually and permanently some of the most common icons for apps you use in the taskbar corner overflow area on an individual case-by-case basis.
Enable an app to Appear Permanently in the Taskbar Corner Overflow
To enable an app to appear permanently in the taskbar corner overflow area perform the following steps:
- Open Windows Settings by pressing WINDOWS key+I. Focus is in the Search edit box.
- Move to “Personalization” in the categories list on the left side of the screen by pressing DOWN ARROW several times, and then press ENTER. The right side of the screen changes to show settings for Personalization.
- Move to the list box that begins with “Background” by pressing TAB several times.
- Move to “Taskbar” in the list by pressing DOWN ARROW several times, and then press SPACEBAR to expand it.
- Move to the “Other system tray icons, show all settings” button, which is collapsed, by pressing the TAB key several times.
- Press SPACEBAR to open a list of installed apps that use the System Tray on your computer.
The items you enable should appear permanently in the System Tray Taskbar corner overflow area when they run. This depends on how the app is developed and how Windows displays it. All other apps that normally run in the System Tray will be collapsed, or hidden, in the Show Hidden Icons area.
- Press TAB to move to the list of available apps, and then press DOWN ARROW or UP ARROW to move through the list.
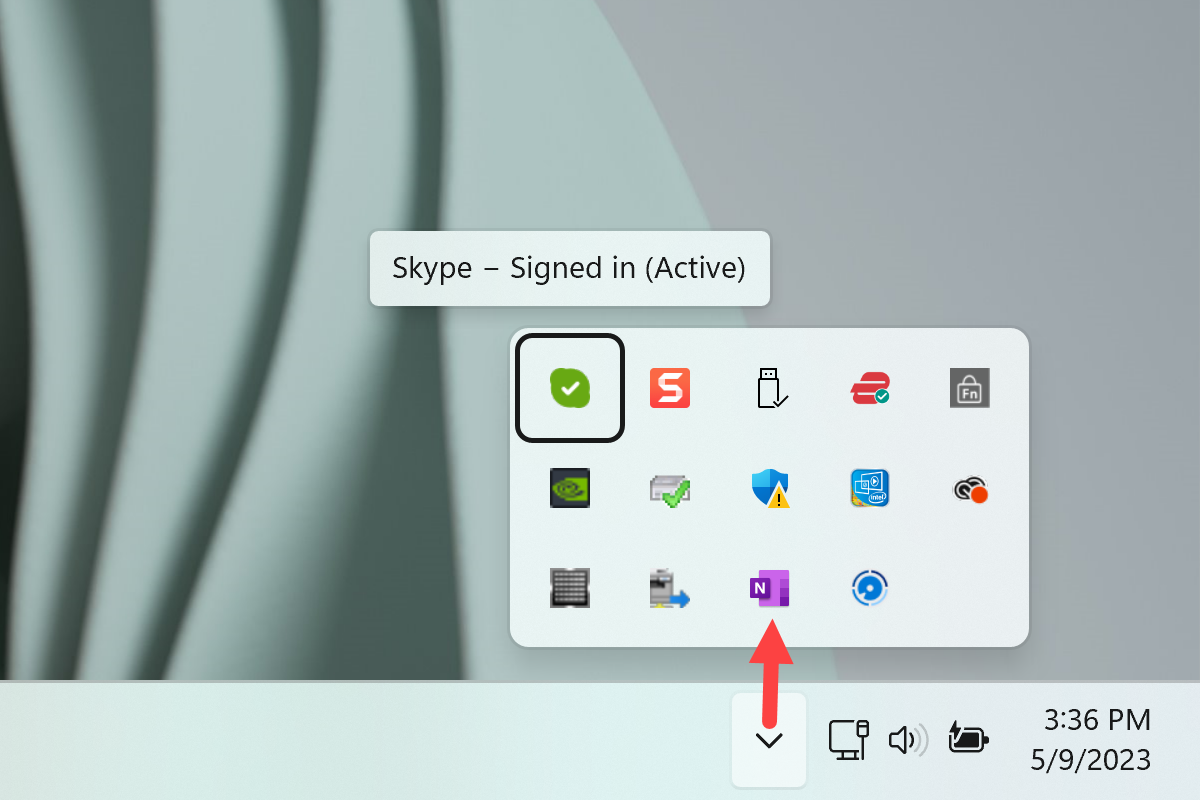
- Locate an icon for an app you want to add. I am going to choose “Skype.” I want that icon to be handy without having to always open the Show Hidden Icons button to find it.
- Move to the On/Off button for Skype by pressing TAB, and then press SPACEBAR to toggle it On. The icon for Skype when running now appears just to the right of the “Show Hidden Icons” button.
- Repeat this process for additional apps you want to have permanently visible in the Taskbar corner.
The number of icons you can successfully add to the System Tray Taskbar corner visually may be limited to the size of your screen or resolution, etc. The limit on the author’s PC is twelve.
- When you are finished making changes, press ALT+F4 to close Windows Settings. The changes are saved automatically.
Thank you for joining me in this lesson on making some initial changes to the Windows 11 default settings.